You are using an unsupported browser. Please update your browser to the latest version on or before July 31, 2020.
close
Home > Davis Advantage > Instructor > Instructor: Manage Classes: Davis Advantage
Instructor: Manage Classes: Davis Advantage
print icon


After creating your class(es), your class information will be displayed on the Classes page that appears when you open Advantage. 


Each class you’ve created will have a unique Class ID. Please remember to provide this to your students!


Screenshot of the page that opens when Advantage is opened with a red box and red arrow calling attention to the Class ID that instructors need to share with students so they can find the class


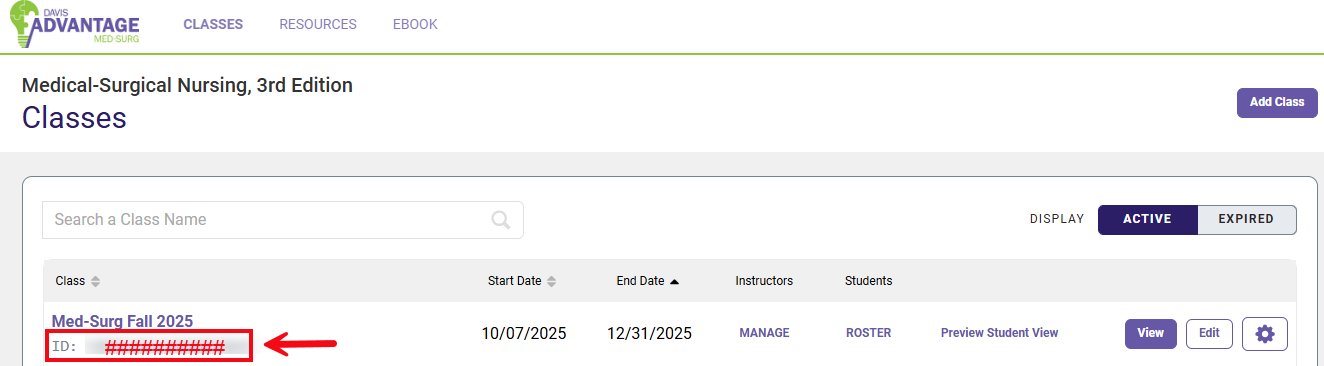
Access the Classes page at any time by clicking the Classes link at the top of your screen. 


Screenshot of the top navigation menu in Advantage with a red box and red arrow calling attention to the Classes button in that menu


Edit Class

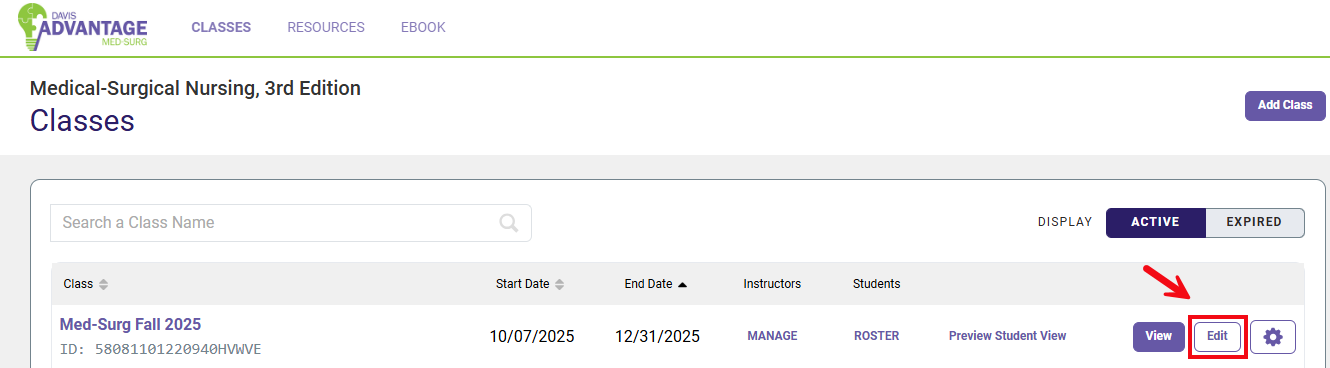
To make any adjustments to class settings (available topics, grading options, due dates, etc.), select the Edit button next to the class.


Screenshot of the page that opens when Advantage is opened with a red box and red arrow calling attention to the Edit button that the instructor can click to edit class settings


You will be taken to the Class Set-Up page, where you will find multiple options for updating your course:

Create Class (1) allows you to update your course title, start date and end date, as well as settings for Auto-Enroll and Independent Study. 

Select Content (2) allows you to change which topics are visible to your students, and rearrange the order of assignments by topic.

Customize Experience (3) allows you to customize the student experience for Personalized Learning assignments, and select whether to pre-load Clinical Judgment and Pre-Set Quizzing Assignments.

Schedule Content (4) allows you to update the Start Dates and Due Dates for individual assignments.

Grading Options (5) allows you to change how each type of assignment is scored for credit in the gradebook


Please note that changes cannot be made to the Customize Experience or Grading Options pages after students have enrolled in the course and begun completing work. 


Once you have made your desired changes on a specific step in Class Set-Up, select the Next Step button to save your work. 


When you have finished, you can visit your Summary page (6) to review your updated course settings. 


For additional guidance on Class Set-Up in Davis Advantage, please visit our "Create a Class" article: Instructor: Create a Class: Davis Advantage
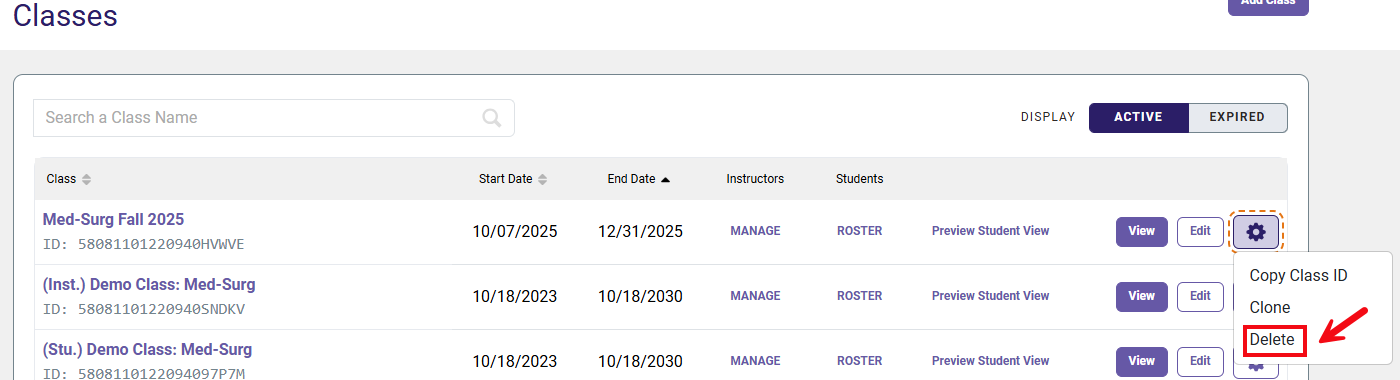
 

Clone Class


To clone your class, click the settings wheel to the right of your class. 


Screenshot of the page that opens when Advantage is opened with a red box and red arrow calling attention to the settings wheel button that when clicked will show the option to delete a class


Next, click Clone.


For the new, cloned class, enter a Class Name (1), Start Date (2), End Date (3), select your time zone (4) and hit Next Step (5) to continue. Your cloned class will have a new Class ID.


Your cloned class will automatically carry over all of the course settings selected for your original course under Select Content, Customize Experience, and Grading Options in Class Set-Up.


Please note that you will need to manually enter new assignment due dates for your cloned course. To update your course due dates, select the Schedule Content tab in Class Set-Up. 
 

For further guidance on updating assignment Start Dates and End Dates, visit our "Create a Class" article and select "Schedule Content" from the On This Page menu: Instructor: Create a Class: Davis Advantage


Delete Class

To delete your class, click the settings wheel to the right of your class. 
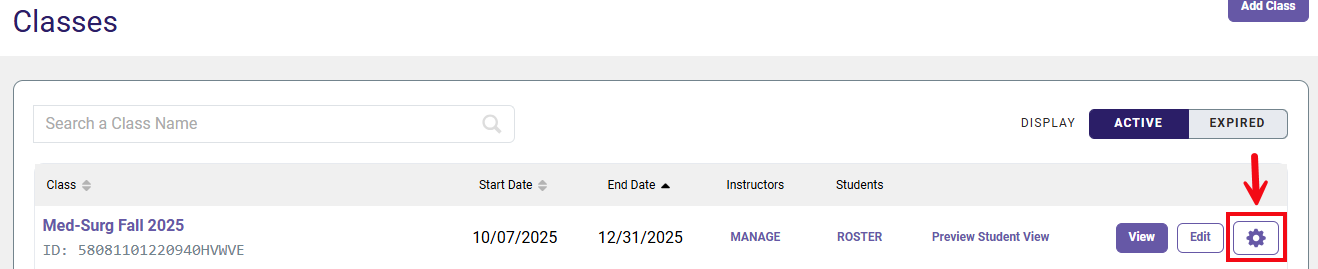
Screenshot of the page that opens when Advantage is opened with a red box and red arrow calling attention to the settings wheel button that when clicked will show the option to delete a class


Next, click Delete.


Screenshot of the page that opens when Advantage is opened with a red box and red arrow calling attention to the Delete button that when clicked lets an instructor delete a class


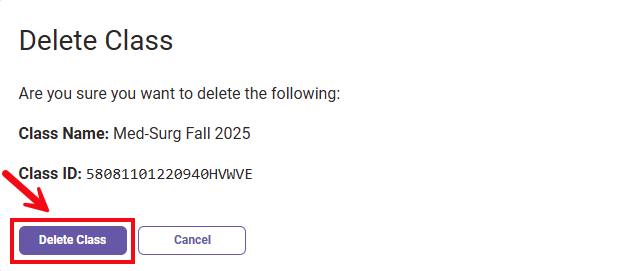
You will be asked to confirm that you want to delete the class. If you are sure you'd like to delete your class, click Delete Class. 


Screenshot of the confirmation message that appears with an instructor clicks Delete for a class asking if the instructor is sure about deleting the class. The screenshot has a red box and red arrow calling attention to the Delete Class button that the instructor must click to proceed with deletion.  


scroll to top icon