This article reflects changes to Davis Advantage that will be going live on 7/14/2025.
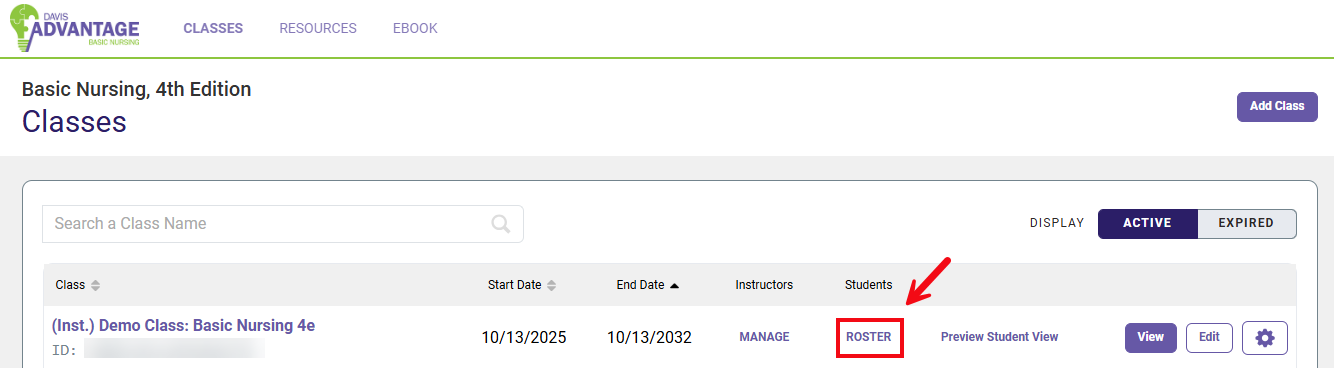
To view the list of the students enrolled in a class, select Roster.
All enrolled students and their e-mail addresses will display in the class Roster.
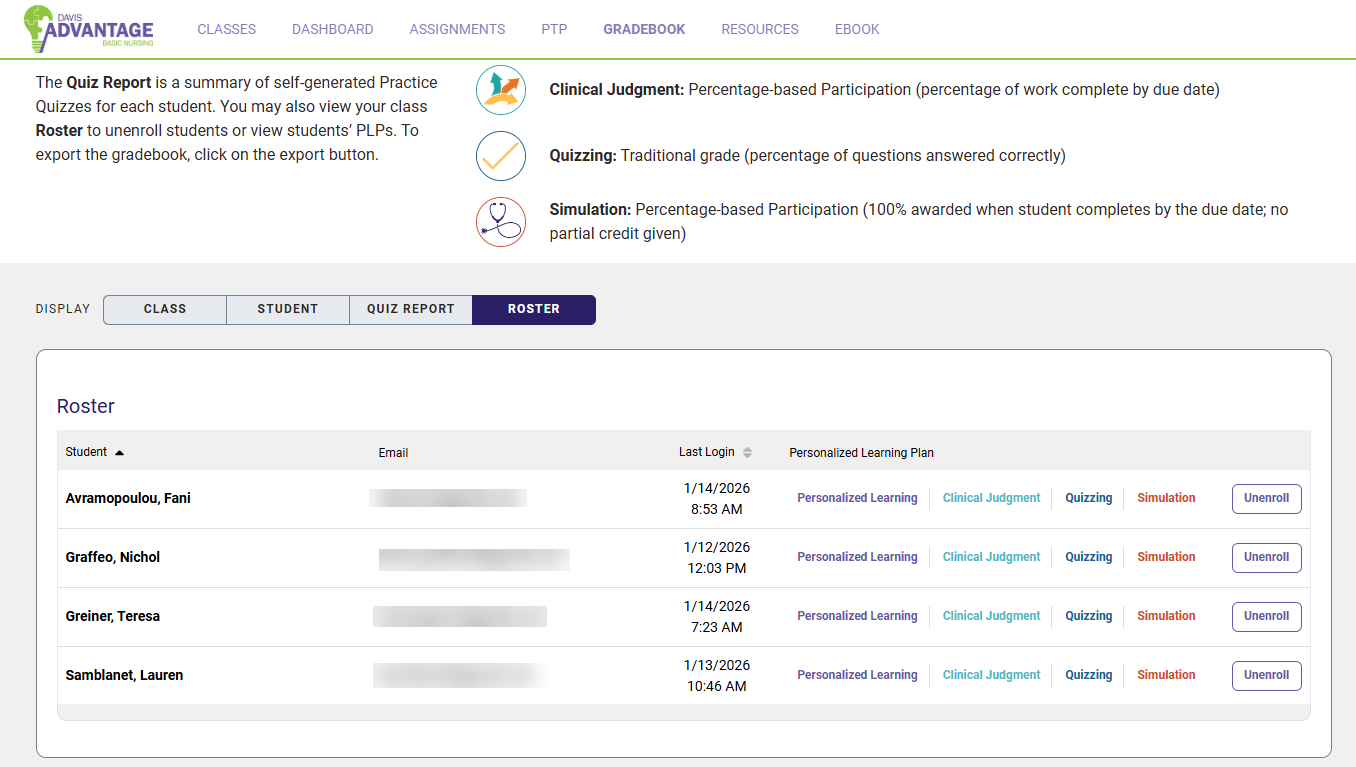
Unenroll Student
To remove a student from the class, select the Unenroll button.

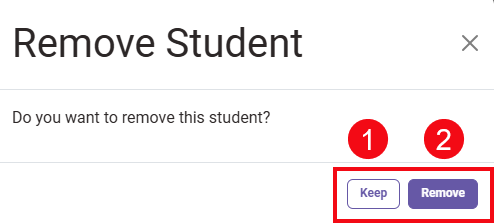
A request for confirmation message will appear. Click Keep (1) to keep the student enrolled in the class, click Remove (2) to remove the student from the class.

Pending Students
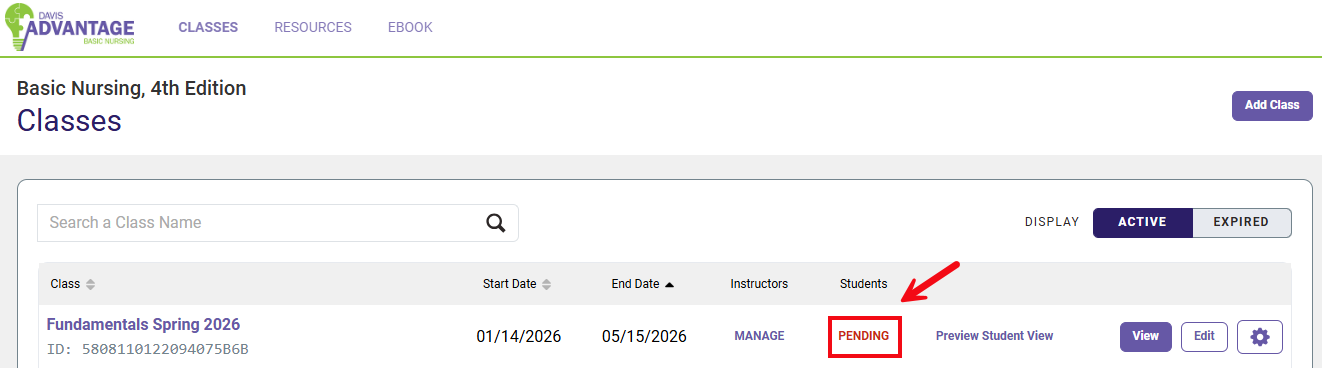
If you turned off Auto-Enroll in your class settings, students who enter your Class ID will be marked as pending until you accept or reject their enrollment. Click Pending next to your class’s name to manage pending enrollment requests.
To respond to an individual student’s enrollment request, click the Approve or Reject button next to that student’s name.

Students you have approved will be able to enter the course and will appear on the Roster list.
If you reject a student’s enrollment request, a request for confirmation message will appear. Click Keep (1) to keep the student enrolled in your class, click Remove (2) to remove the student from your class.