

This article is for Dosage Calc 360 and Med Term 360. While we use Med Term 360 as an example, this information also applies to Dosage Calc 360. To learn how to add quizzing assignments in Test Success 360, refer to this article.
Add Quizzing Assignments
In addition to the preset assignments that can be added during Class Setup, Instructors can add Quizzing Assignments to their Davis 360 class.
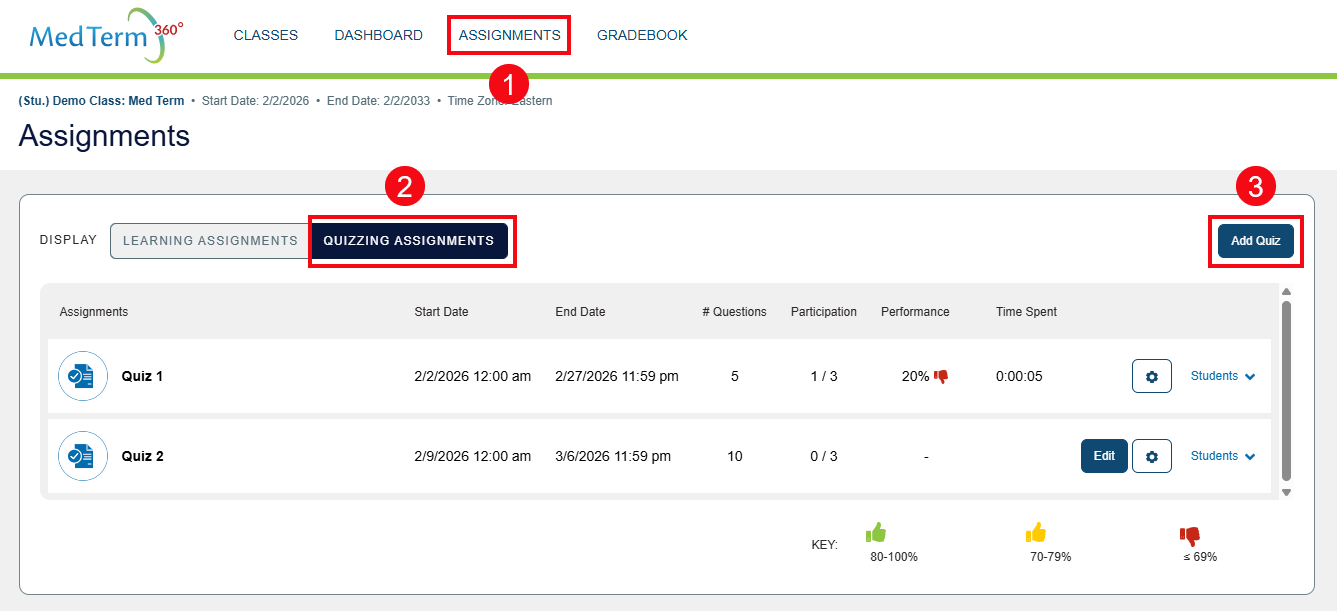
To add Quizzing Assignments, select Assignments (1) from the top navigation bar, then the "Quizzing Assignments" display option (2), where you'll be able to click the "Add Quiz" button (3).
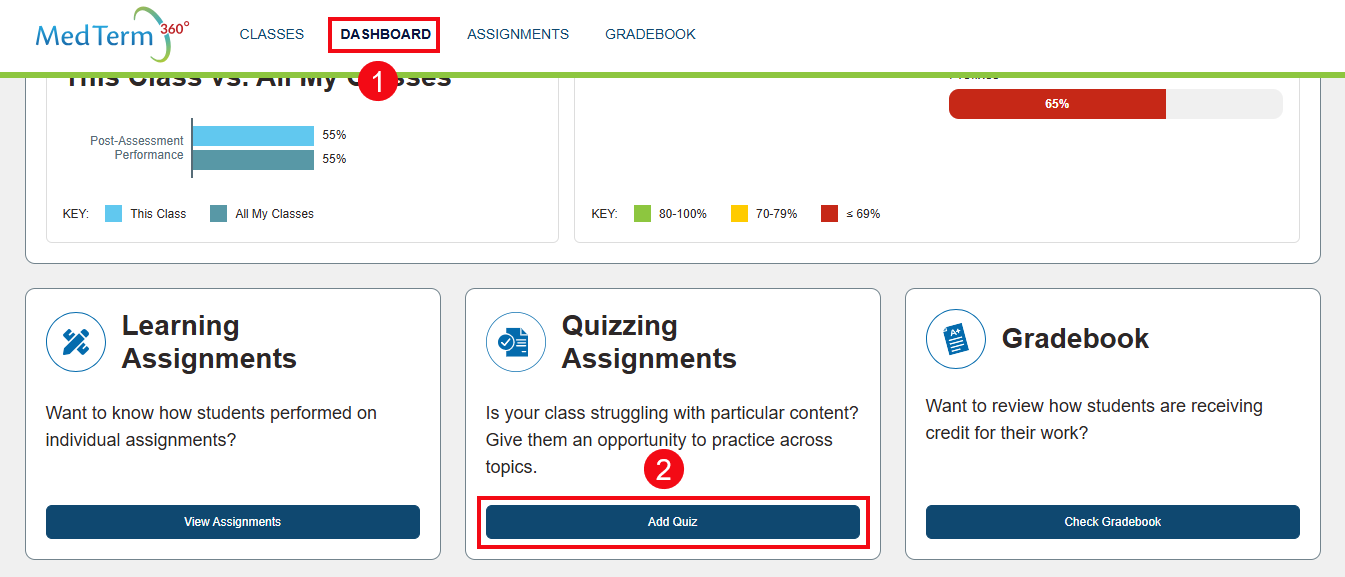
Alternatively, you can also access the Quiz Builder from you Dashboard page (1). At the bottom of the page, in the Quizzing Assignments section, click the Add Quiz button (2).
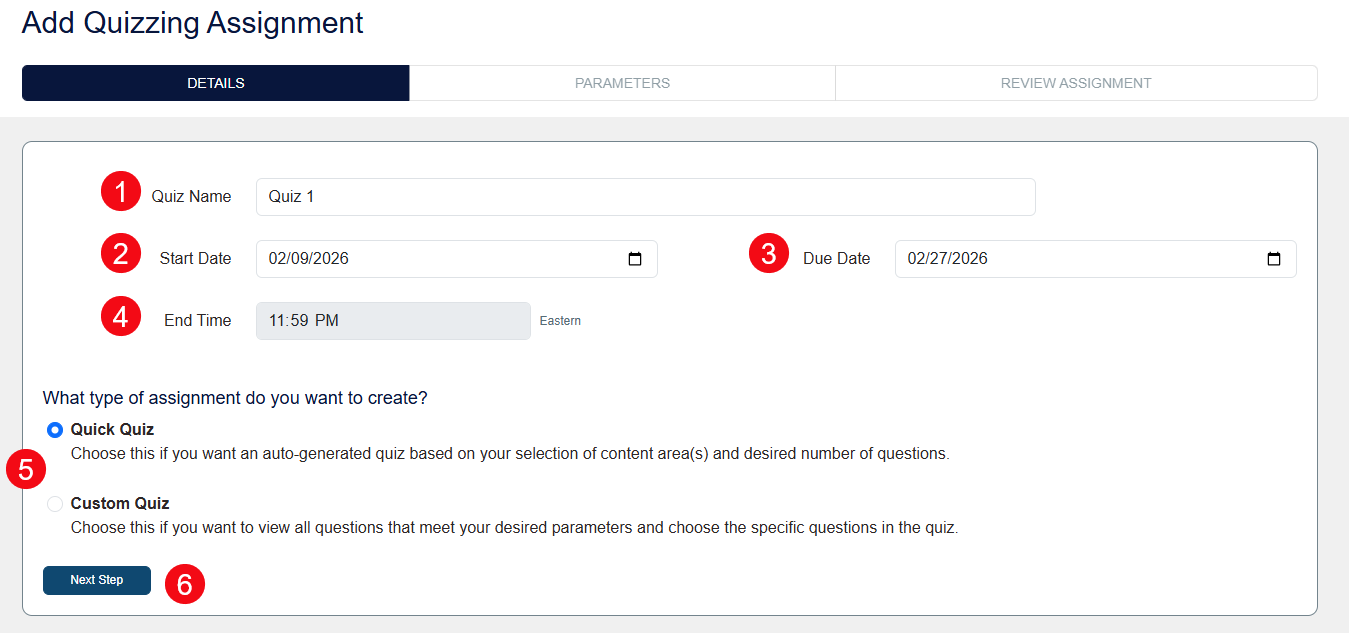
In the Quiz Builder, begin by entering an Assignment Name for your quiz (1), then choose a Start Date (2) and End Date (3). A quiz's Start Date will determine when your students can access it (first minute of the selected day) and its End Date will determine when the assignment is due for credit. For the end time (4), the default is last minute of the selected End Date, though this can be adjusted in your Class Setup by changing the End Time. Next, select the type of Quizzing Assignment you would like to create (5). There are two options to choose from: Quick Quiz, and Custom Assignment. We will review each assignment type below. Once you have selected these details, click the Next Step button (6).
Quick Quiz
A Quick Quiz generates questions based on the content you would like to include, and can range between 5 and 25 questions.
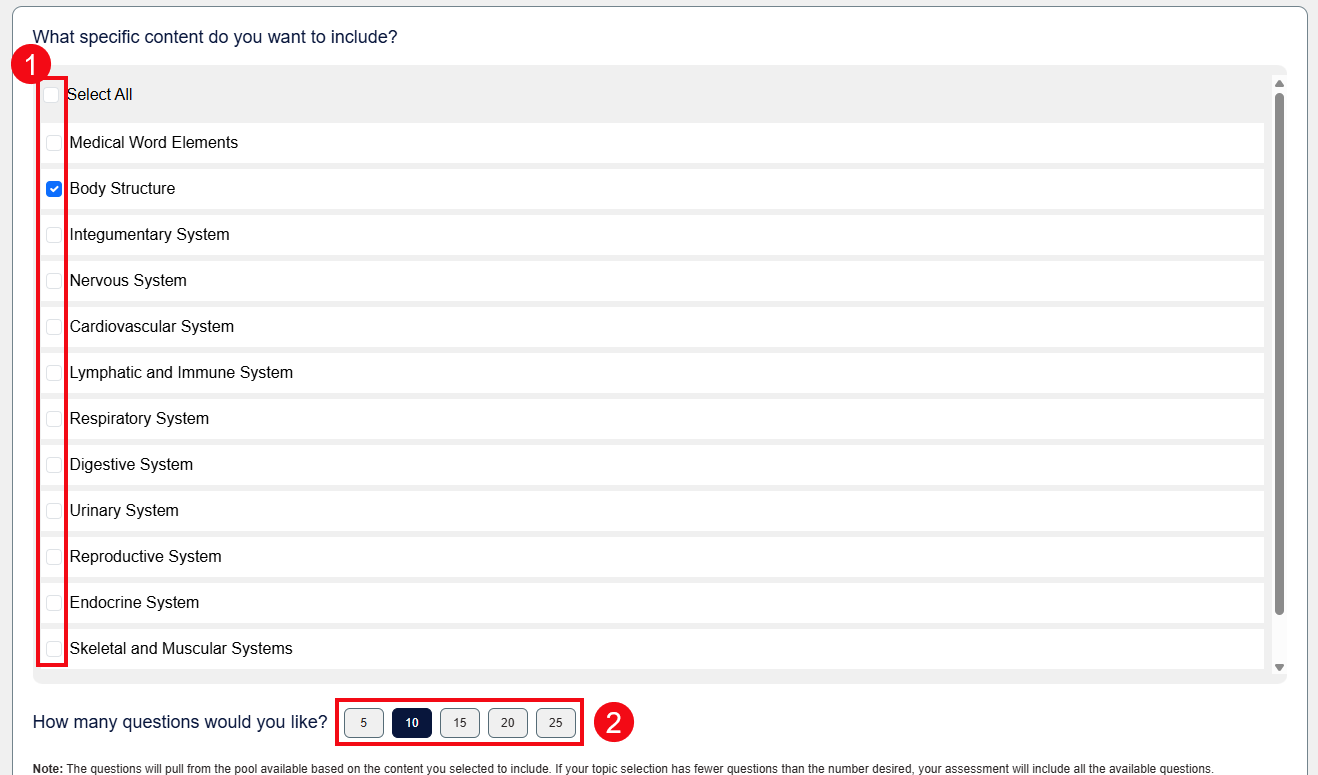
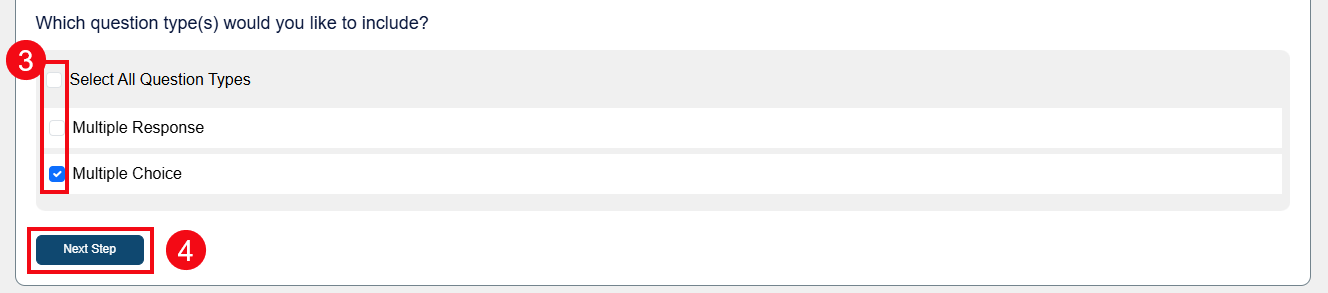
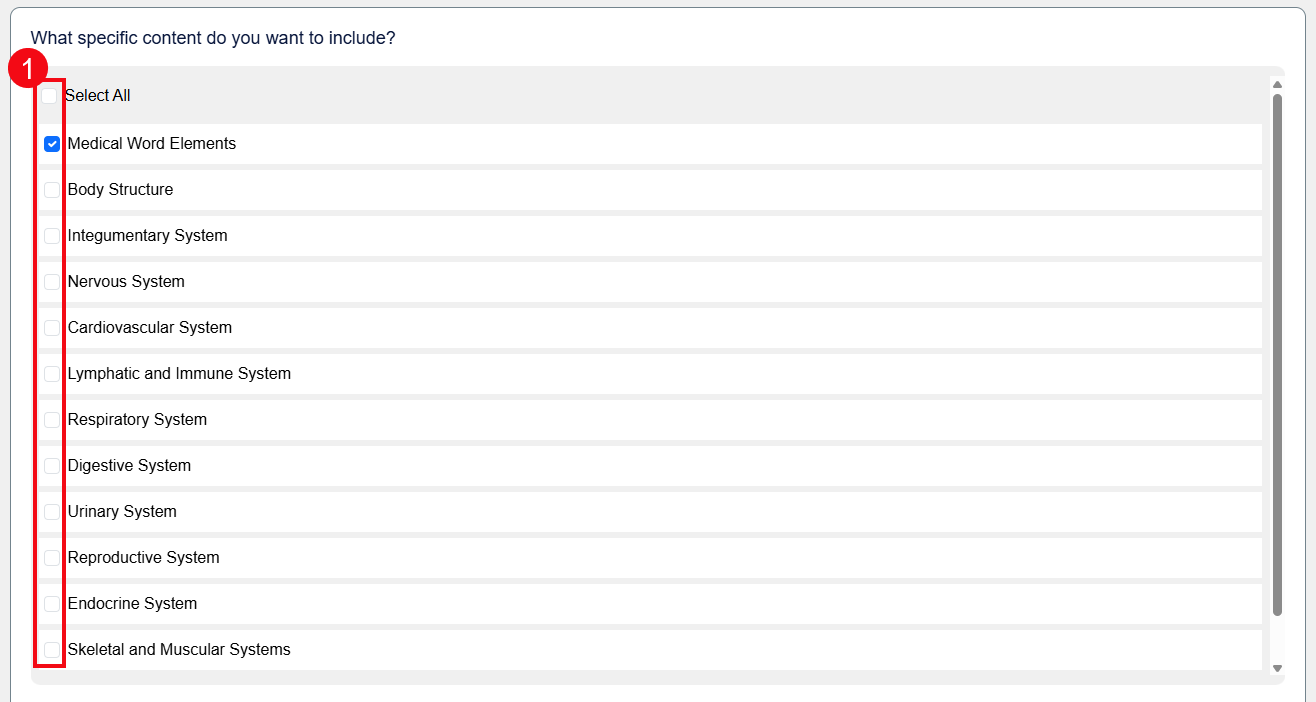
To begin, select the specific topics you would like to include by clicking the checkbox beside a topic (1). Next, select the number of questions you would like (2). Select the question types you'd like to include (3). Then, click the Next Step button (4).
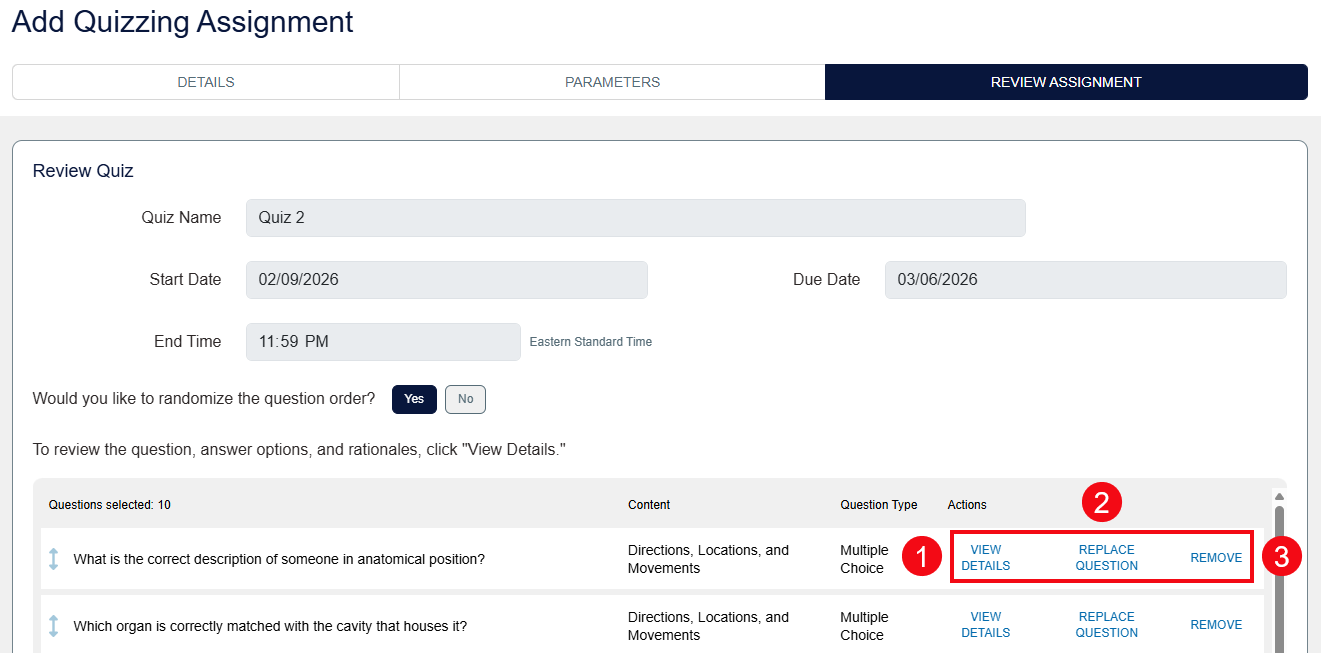
Once you have set the parameters for your Quick Quiz, the platform will generate a quiz for you with questions selected at random from within your chosen parameters. You can review these questions individually by clicking View Details (1). If you find a question you would rather not use, you can use the Replace Question feature to generate a different question within the same topic (2). You can also click Remove to remove questions that you don't want to use to streamline your quiz to a shorter length (3).
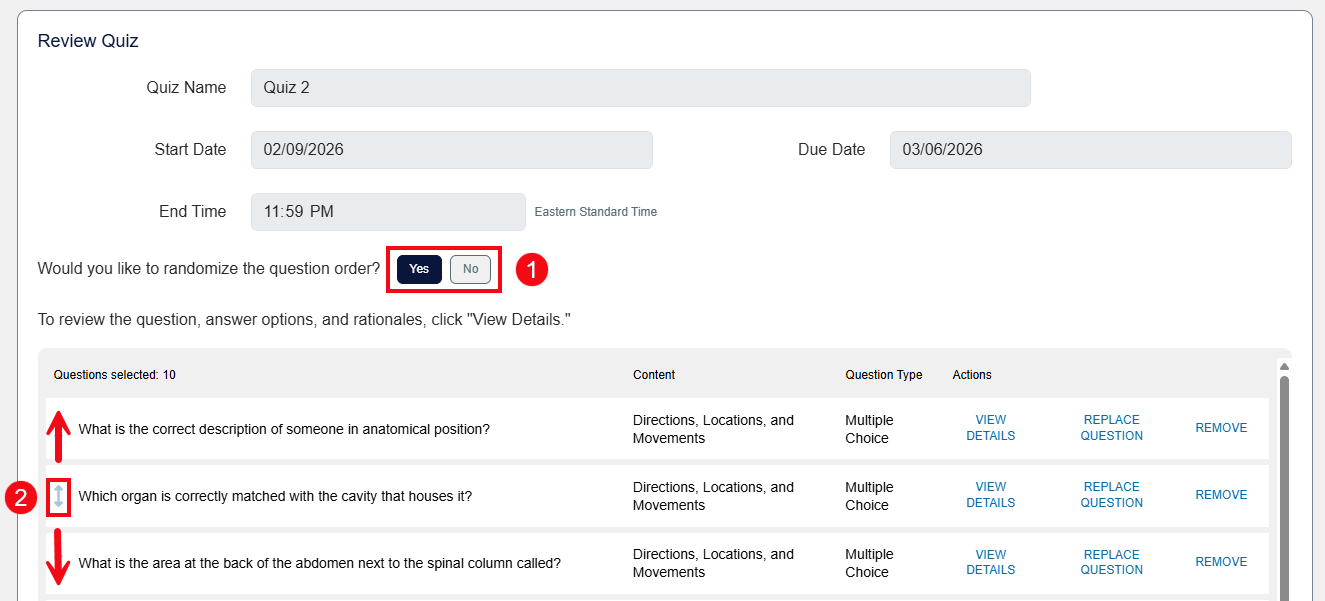
Note that the question order is randomized by default, but that you can also select No (1) if you would like questions to appear in a specific order. You can then customize the order by using the drag-and-drop arrows to the left of questions (2).
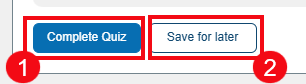
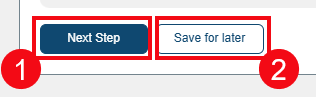
Once you're satisfied with the contents, click the Complete Quiz button to add it to the course (1). You can also click the Save for later button, if you need to finish creating your Quick Quiz at a later time (2).
Custom Assignments
Custom Assignments allow you to hand-pick each question, rather than prompting Davis 360 to generate questions for you.
After you've added a Quiz Name, Start Date, and End Date for a Custom Assignment, you will choose the topics you want to include using the checkboxes (1). Next, select the question types you'd like to include (2). Once you've set your parameters, click the Next Step button (3).

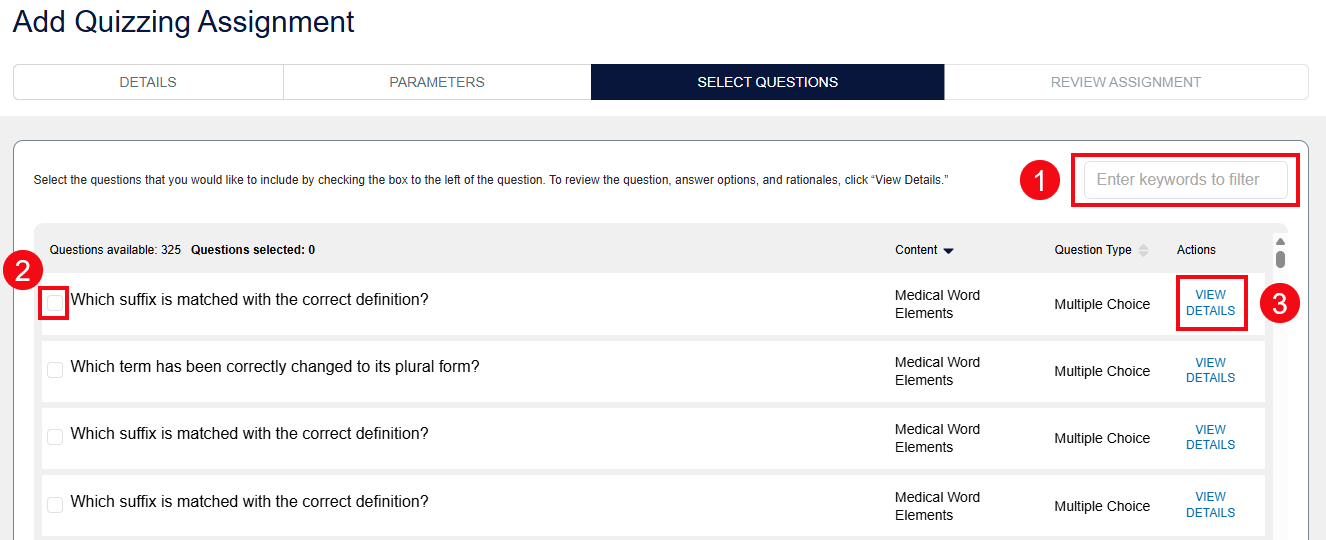
According to the topic parameters you selected, the available questions will be displayed on the Select Questions page. You can type keywords into the search bar to filter results (1), then click checkboxes to the left of questions (2) to add those questions to your Custom Assignment. When considering which questions you'll select, you can click View Details (3) to review each possible question further.
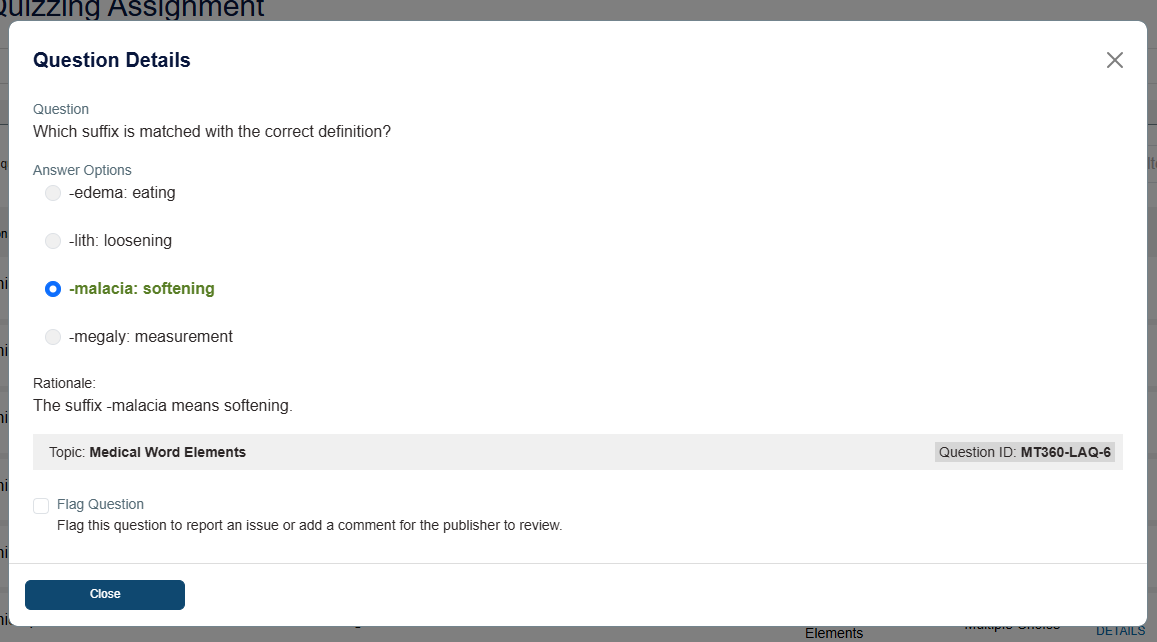
When you choose to View Details for a question, a popup containing the question's full text, answers, and rationales will appear.
Once you've made all of your selections, click the Complete Quiz button (1) to continue to a review of your Custom Assignment. You can also click the Save for later button (2) if you need to finish creating your Custom Assignment at a later time.
On the Review Assignment step of the Custom Assignment process, you can edit the Quiz Name, its Start Date and End Date (1), as well as the order of questions as you could previously with a Quick Quiz. You can randomize the question order (2) or manually order the questions using the arrow icons (3). You can also make any final changes to your quiz content on this page by replacing or removing questions. Once you've reviewed your selections, click the Complete Quiz to add it to your course or the Save for later button if you need to finish creating your Custom Assignment at a later time (4).


